Bitte blockieren Sie keine Werbung auf unserer Website. Klicks auf Anzeigen helfen uns, zu existieren, zu wachsen und für Sie nützlicher zu werden!
Wie man ein Rückschlagventil installiert
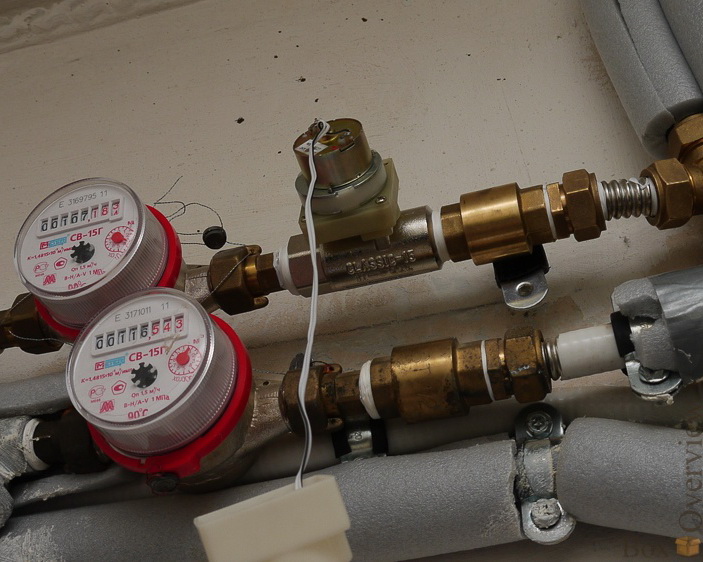
Gewindete Rückschlagventile werden in federbelastete und nicht federbelastete unterteilt. Federbelastete Rückschlagventile können in jeder Position installiert werden, während nicht federbelastete Ventile in vertikalen Rohrleitungen mit Durchfluss von unten nach oben oder in horizontalen Rohrleitungen installiert werden.
Es wird empfohlen, vor dem Rückschlagventil einen Maschenfilter zu installieren, um das Ventil vor abrasiven Substanzen im Durchfluss zu schützen.
Das Gehäuse des Rückschlagventils sollte keinen Biege-, Dreh-, Zug- oder Druckbelastungen durch die angeschlossene Rohrleitung ausgesetzt sein.
Das Rückschlagventil lässt den Durchfluss nur in eine Richtung zu, und die Strömungsrichtung ist durch einen Pfeil auf dem Ventilkörper angegeben - achten Sie darauf, dass das Ventil korrekt gemäß dem technologischen Schema installiert wird.
Beschädigen Sie nicht die Lackierung des Ventilkörpers, da sie neben ihrer dekorativen Funktion auch das Ventil vor Korrosion schützt.
Verpackungsreihenfolge des Gewindeverbinders
1. Nehmen Sie ein Büschel Flachsfasern mit genügend Fäden, so dass sein Durchmesser im verdrehten Zustand ungefähr der Tiefe des Gewindes entspricht. Die Länge des Büschels sollte 1,5 bis 2 Mal mehr Wicklungen als die Anzahl der Gewindegänge liefern.
2. Drehen Sie etwa 50-70 mm vom Anfang des Büschels zurück, drehen Sie es leicht, legen Sie es in die erste Gewindegänge und wickeln Sie den langen Teil des Büschels im Uhrzeigersinn fest auf, indem Sie es in jede Gewindegänge legen.
3. Wenn Sie das Ende des Gewindes erreicht haben, wickeln Sie mit einer zweiten Schicht weiter und verschieben Sie die Wicklungen zum Anfang des Gewindes. Die Länge der zweiten Schicht sollte etwa 2/3 der Gewindelänge betragen.
4. Wickeln Sie das verbleibende Ende des Büschels (50-70 mm) ähnlich im Uhrzeigersinn vom Ende des Gewindes bis zum Anfang auf.
5. Tragen Sie eine Schicht Dichtmittel auf die Verpackungsoberfläche auf.
6. Ziehen Sie die Verbindungselemente von Hand fest. Bei korrekter Verpackung sollte das montierte Element um 1,5-2 Umdrehungen festgezogen werden.
7. Verwenden Sie einen Schraubenschlüssel oder Drehmomentschlüssel, um das Element weiter anzuziehen. Wenn das montierte Element eine bestimmte Position benötigt, beenden Sie das Festziehen in der erforderlichen Position.
Bei korrekter Verpackung sollten die Anzugskräfte die unten angegebenen Drehmomente nicht überschreiten:
| DN15 | DN20 | DN25 | DN32 | DN40 | DN50 | DN65 | DN80 | DN100 |
|---|---|---|---|---|---|---|---|---|
| 70 Nm | 95 Nm | 120 Nm | 150 Nm | 190 Nm | 230 Nm | 280 Nm | 350 Nm | 400 Nm |


Frage : Kommentar : Rückmeldung
213
 Katalog von
