Veuillez ne pas bloquer les publicités sur notre site. Les clics sur les annonces nous aident à exister, à nous développer et à devenir plus utiles pour vous !
Comment installer un clapet anti-retour
Les clapets anti-retour filetés sont divisés en clapets à ressort et non à ressort. Les clapets à ressort peuvent être installés dans n'importe quelle position, tandis que les clapets non à ressort sont installés sur des canalisations verticales avec un flux de bas en haut ou sur des canalisations horizontales.
Il est recommandé d'installer un filtre à mailles avant le clapet anti-retour pour le protéger contre les substances abrasives présentes dans le flux.
Le corps du clapet anti-retour ne doit pas être soumis à des charges de flexion, de rotation, de traction ou de compression provenant de la canalisation connectée.
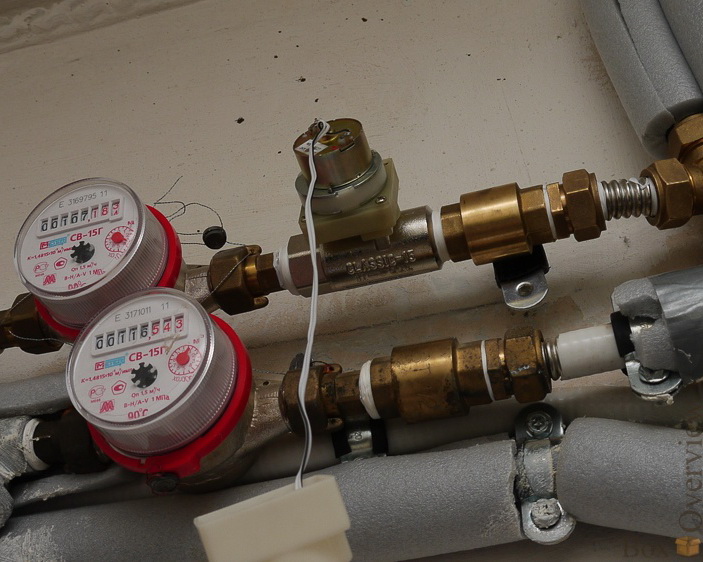
Le clapet anti-retour ne laisse passer le flux que dans une seule direction, et la direction du flux est indiquée par une flèche sur le corps du clapet - veillez à installer correctement en fonction du schéma technologique.
Ne détériorez pas le revêtement de peinture sur le corps du clapet, car en plus de sa fonction décorative, il protège également le clapet contre la corrosion.
Séquence d'emballage de la connexion filetée
1. Prenez un faisceau de fibres de lin avec suffisamment de fils pour que, dans un état torsadé, son diamètre soit approximativement égal à la profondeur du filet. La longueur du faisceau doit fournir 1,5 à 2 fois le nombre de tours de filetage.
2. Reculer d'environ 50 à 70 mm du début du faisceau, le tordre légèrement, le placer dans le premier tour de filet et, en le maintenant à la main, enrouler fermement la branche longue du faisceau dans le sens des aiguilles d'une montre, en le plaçant dans chaque tour de filet.
3. Après avoir atteint la fin du filet, continuez à enrouler avec une deuxième couche, en déplaçant les tours vers le début du filet. La longueur de la deuxième couche doit être d'environ 2/3 de la longueur du filet.
4. Enroulez l'extrémité restante du faisceau (50-70 mm) de manière similaire dans le sens des aiguilles d'une montre, de la fin du filet au début.
5. Appliquez une couche de scellant sur la surface de l'emballage.
6. Serrez les éléments de connexion à la main. Avec un emballage approprié, l'élément monté doit être serré de 1,5 à 2 tours.
7. Utilisez une clé ou une clé dynamométrique pour continuer à serrer l'élément. Si l'élément monté doit être positionné dans une certaine orientation, terminez le serrage dans la position requise.
Avec un emballage correct, les efforts de serrage ne doivent pas dépasser les couples de serrage spécifiés ci-dessous :
| DN15 | DN20 | DN25 | DN32 | DN40 | DN50 | DN65 | DN80 | DN100 |
|---|---|---|---|---|---|---|---|---|
| 70 Nm | 95 Nm | 120 Nm | 150 Nm | 190 Nm | 230 Nm | 280 Nm | 350 Nm | 400 Nm |


question : commentaire : retour
374
 Catalogue de
