Por favor, não bloqueie os anúncios em nosso site. Cliques nos anúncios nos ajudam a existir, crescer e se tornar mais úteis para você!
Como instalar uma válvula de retenção
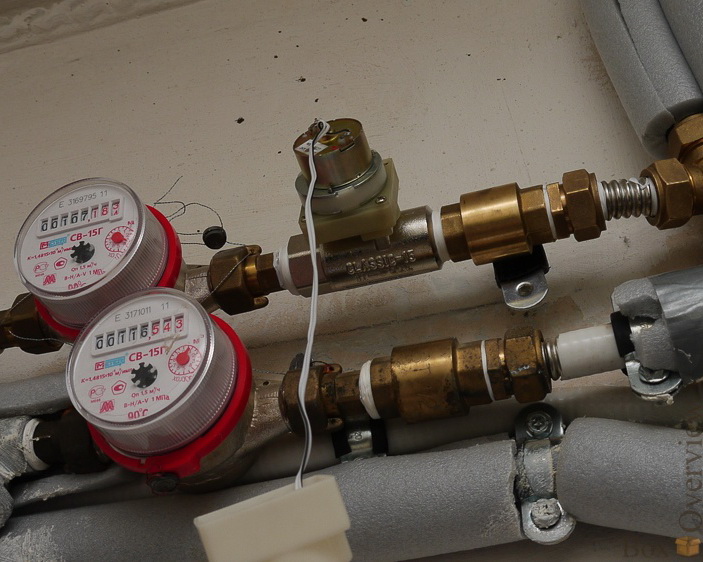
As válvulas de retenção roscadas são divididas em válvulas com e sem mola. As válvulas com mola podem ser instaladas em qualquer posição, enquanto as válvulas sem mola são instaladas em tubulações verticais com fluxo de baixo para cima ou em tubulações horizontais.
Recomenda-se a instalação de um filtro de malha antes da válvula de retenção para protegê-la contra substâncias abrasivas no fluxo.
O corpo da válvula de retenção não deve ser submetido a cargas de flexão, rotação, tração ou compressão provenientes da tubulação conectada.
A válvula de retenção permite o fluxo apenas em uma direção, e a direção do fluxo é indicada por uma seta no corpo da válvula - certifique-se de instalar corretamente de acordo com o esquema tecnológico.
Não danifique o revestimento de tinta no corpo da válvula, pois além da função decorativa, ele também protege a válvula contra corrosão.
Sequência de embalagem da junta roscada
1. Pegue um feixe de fibra de linho com fios suficientes para que, em estado torcido, seu diâmetro seja aproximadamente igual à profundidade da rosca. O comprimento do feixe deve fornecer de 1,5 a 2 vezes o número de voltas da rosca.
2. Afaste-se cerca de 50-70 mm do início do feixe, torça-o ligeiramente, coloque-o na primeira volta da rosca e, segurando-o com a mão, enrole firmemente o feixe longo no sentido horário, colocando-o em cada volta da rosca.
3. Ao chegar ao final da rosca, continue a enrolar com uma segunda camada, movendo as voltas para o início da rosca. O comprimento da segunda camada deve ser cerca de 2/3 do comprimento da rosca.
4. Enrole a ponta deixada do feixe (50-70 mm) da mesma forma no sentido horário, do final da rosca até o início.
5. Aplique uma camada de selante na superfície da embalagem.
6. Aperte os elementos de conexão manualmente. Com uma embalagem adequada, o elemento montado deve apertar por 1,5-2 voltas.
7. Use uma chave ou chave dinamométrica para continuar apertando o elemento. Se o elemento montado precisar ser posicionado em uma orientação específica, termine de apertá-lo na posição necessária.
Com uma embalagem adequada, durante o aperto, o esforço não deve exceder o torque especificado abaixo:
| DN15 | DN20 | DN25 | DN32 | DN40 | DN50 | DN65 | DN80 | DN100 |
|---|---|---|---|---|---|---|---|---|
| 70 Nm | 95 Nm | 120 Nm | 150 Nm | 190 Nm | 230 Nm | 280 Nm | 350 Nm | 400 Nm |


pergunta : comentário : opinião
285
 Catálogo de
